
Last updated October 17, 2026
 Sliding glass doors
 Single hung
 Double hung
 Horizontal roller
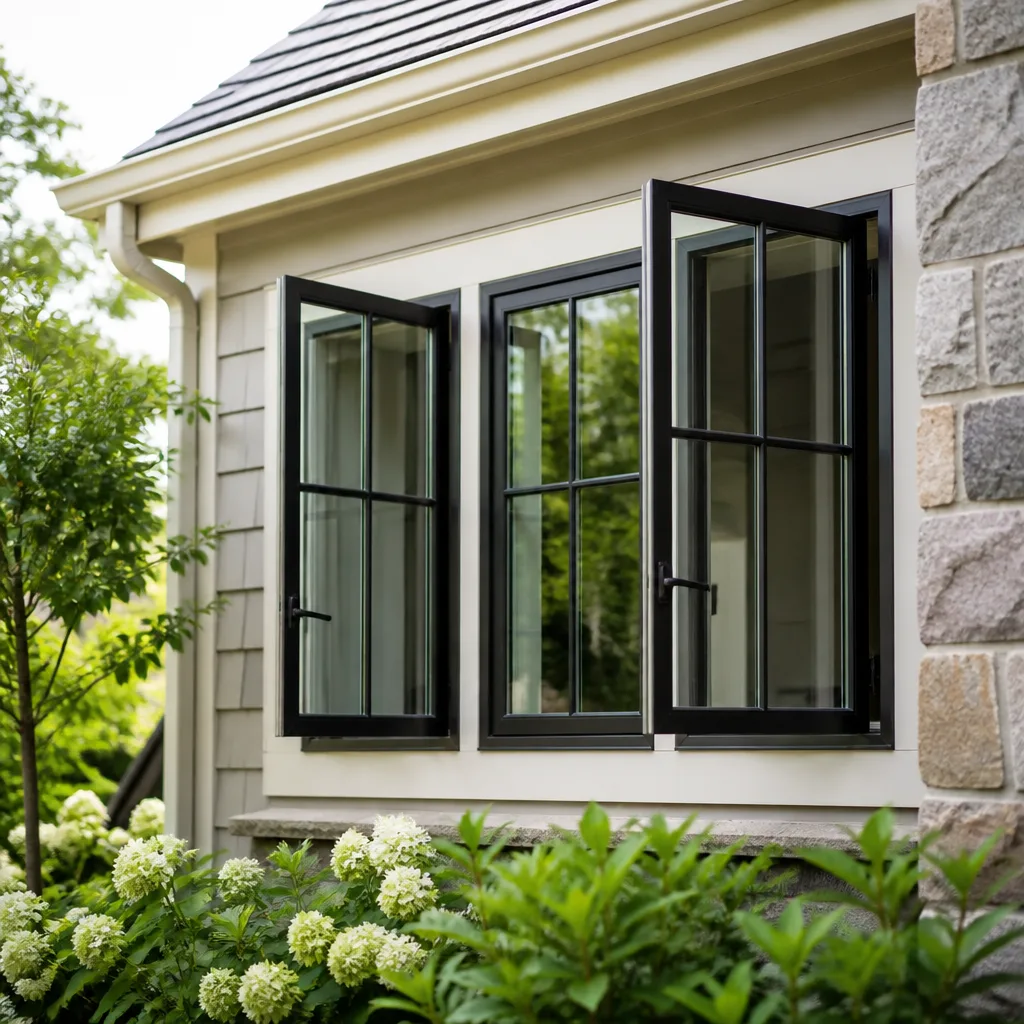 Casement
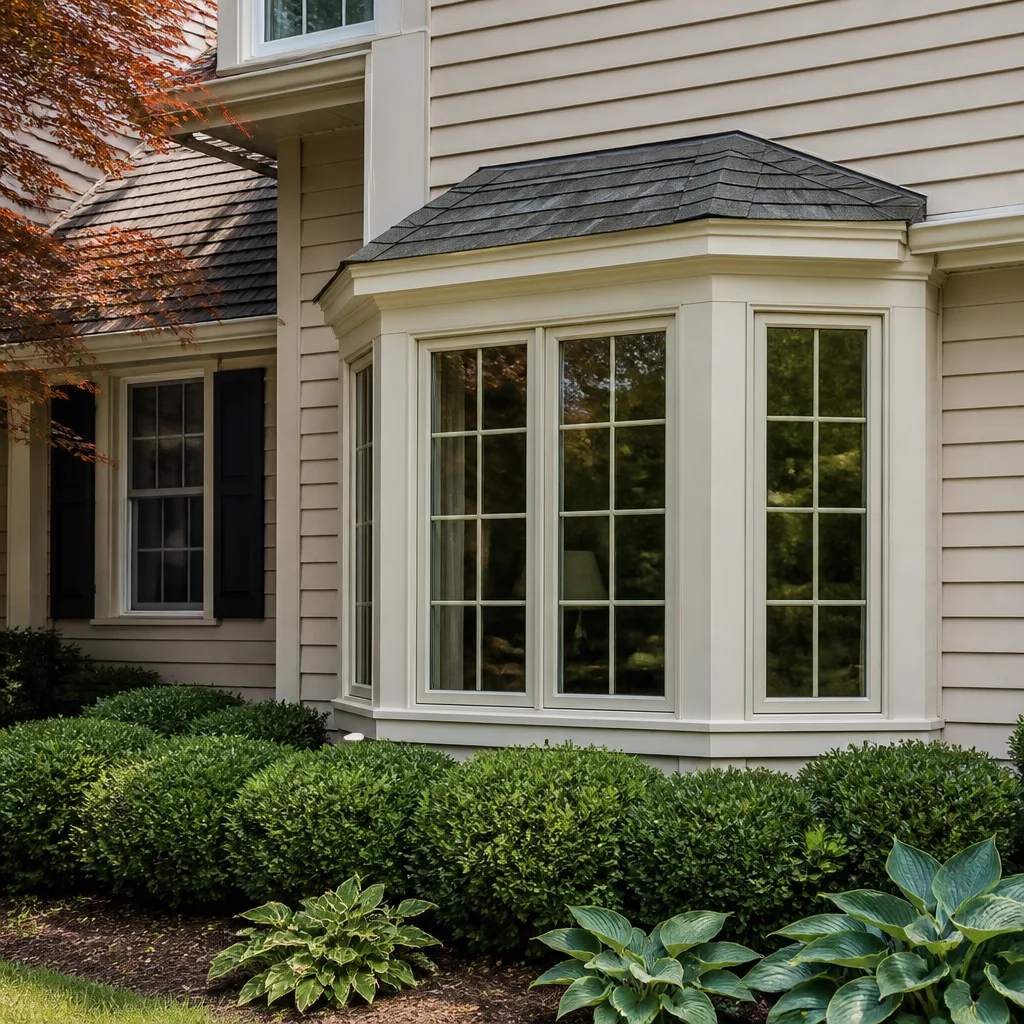 Bay & bow
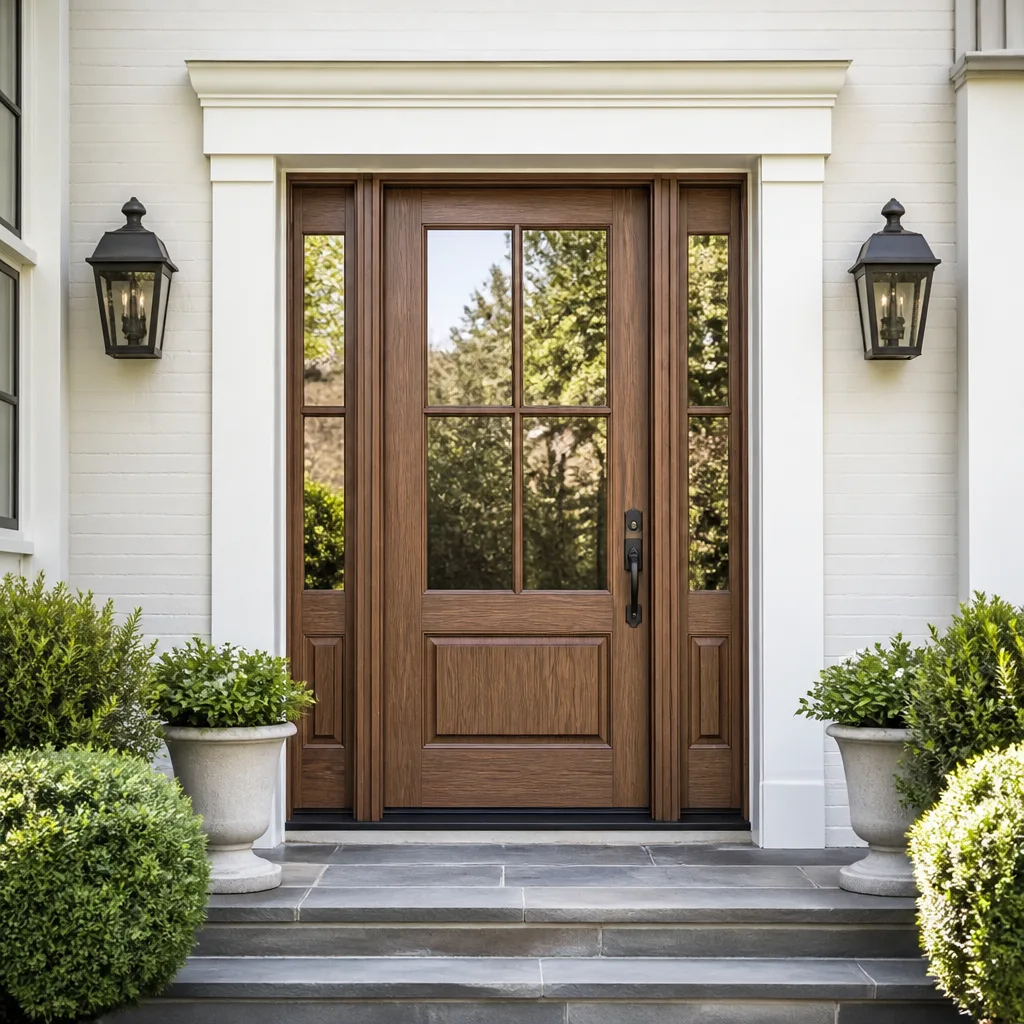 Entry doors
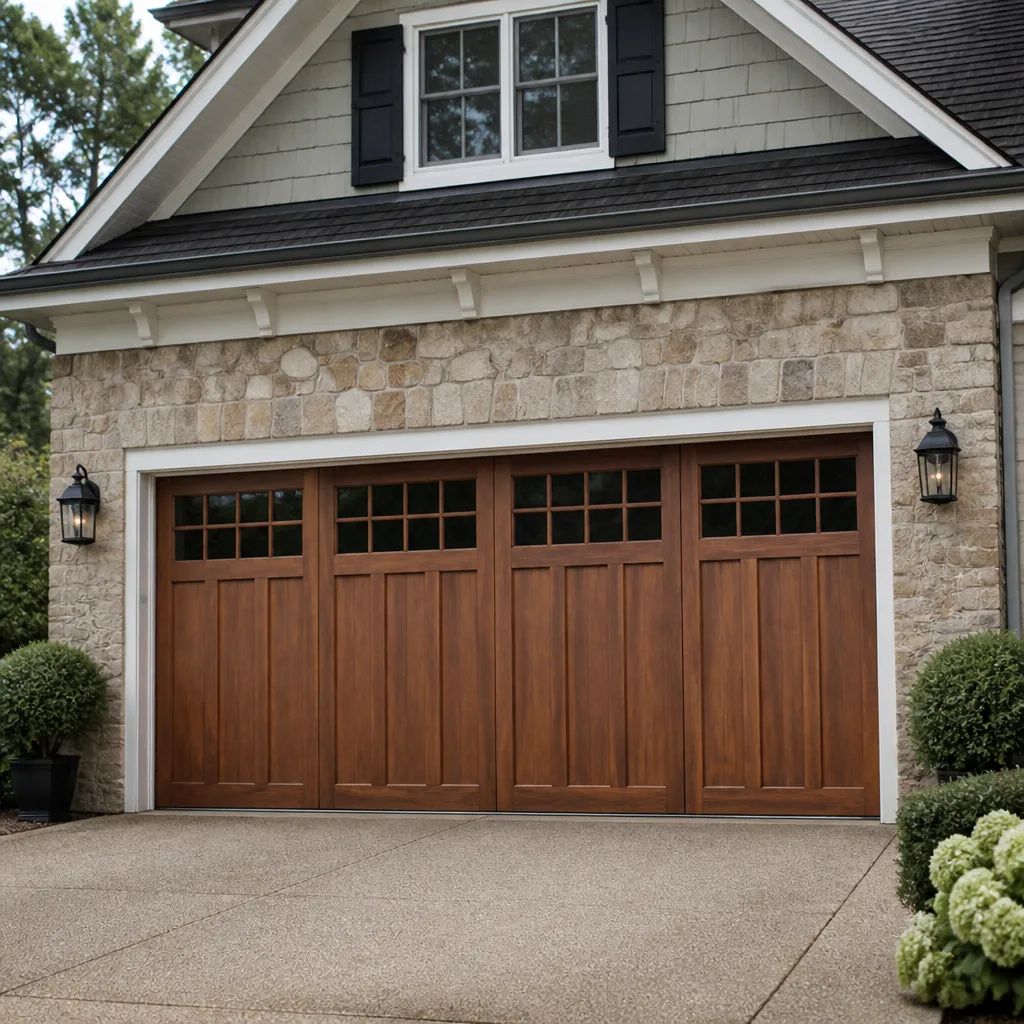 Impact garage doors
 PGT
PGT CGI
CGIFree in-home measure and quote - PGT, CGI and CWS impact lines compared on your actual openings, style by style
Get your free estimateDIY vs Professional Windows & Doors: The Santa Clarita Homeowner’s Decision Guide
Here is a number most window replacement tutorials will not tell you: a window installed by someone who is not a licensed California contractor usually has no enforceable warranty from the manufacturer. Not a reduced warranty. None. You can spend $800 on a premium vinyl window, install it perfectly by every measure you know, and discover three years later that the factory will not honor a seal failure because the paperwork requires licensed installation. This guide maps every decision point in the DIY-versus-professional question for Santa Clarita homes, from what a weekend actually saves you to which mistakes become permanent the moment the stucco patch dries.
Styles & brands we work with
Quick Answer
For most Santa Clarita homeowners, the smart split is this: handle interior and hardware-level fixes yourself (weatherstripping, screen repair, hardware adjustment, interior trim painting), and hire a licensed contractor for any job that disturbs the stucco opening, the structural frame, or the exterior waterproofing. In California, most window and door replacement permits must be pulled by a licensed contractor, manufacturer warranties typically require licensed installation, and Santa Clarita’s stucco exteriors add masonry complexity that YouTube tutorials filmed on wood-frame homes never address. The DIY savings that are real come from the small stuff, not the structural work.
Table of Contents
- What “DIY” Actually Means in Santa Clarita
- The Tasks a Homeowner Can Legitimately Own
- Why Santa Clarita’s Stucco Exteriors Change Everything
- The Warranty Reality: What “Self-Installed” Means
- The Permit Reality in California
- An Honest Cost Comparison: Where DIY Saves, Where It Doesn’t
- Step-by-Step: Mapping Your Specific Job
- Common Mistakes to Avoid
- When to Call a Professional
- Frequently Asked Questions
- The Bottom Line
What “DIY” Actually Means in Santa Clarita
The word “DIY” gets stretched to cover everything from replacing a screen to tearing out a load-bearing wall. In Santa Clarita, where the housing stock skews toward stucco-clad single-family homes built between 1970 and 2010, the term splits into three distinct categories that have very different risk profiles.
Category One: Truly safe DIY. These are tasks that do not touch the building envelope, the waterproofing, or the structural frame. Replacing weatherstripping on a sliding door, swapping out a window crank, repainting interior trim, replacing a torn screen, lubricating rollers and hinges, adjusting a strike plate. These jobs typically take under two hours, cost under $50 in materials, and require no permit. You can do these without hesitation.
Category Two: DIY that triggers real risk. These are jobs that touch the window or door opening itself: removing interior casing, re-shimming a window that has settled, replacing a rotted sill, re-caulking the exterior perimeter, swapping out a door slab in an existing frame. These are doable for a patient homeowner with the right tools, but they introduce the possibility of disturbing flashing, insulation, or the stucco key. In Santa Clarita’s summer heat, the wrong caulk selection or a missed backer rod detail can fail within a single season.
Category Three: Work that should not be DIY at all. Full window replacement, new-construction window installation, cutting a new opening, moving a door, or replacing an exterior door in a stucco wall. These jobs involve structural framing, water management layers, Title 24 energy compliance, and California permit requirements that most homeowners cannot legally satisfy on their own.
The good news for Santa Clarita homeowners is that window replacement in Santa Clarita is not an all-or-nothing proposition. You can own Category One completely, attempt Category Two if you have patience and the right tools, and leave Category Three to a licensed crew. The rest of this guide explains exactly where those lines are and why they are drawn there.
The Tasks a Homeowner Can Legitimately Own
Let us be specific about what you can genuinely save money on. The following list is what we tell our own customers to handle themselves if they want to, because these jobs are low-risk, low-stakes, and genuinely satisfying to complete.
1. Weatherstripping Replacement
Most air leaks around windows and doors in Santa Clarita come from worn or compressed weatherstripping, not from the window unit itself. Weatherstripping kits run $8 to $40 per window or door depending on the profile, and installation takes 20 to 40 minutes per opening. You will need a utility knife, a clean surface, and patience for corners. This is the single highest-value DIY task in this guide, because replacing weatherstripping on a drafty window can cut the felt draft immediately without touching the window at all. In Valencia and Saugus, where summer afternoon winds drive dust against west-facing windows, we see weatherstripping wear out faster than in Canyon Country neighborhoods. Check the flexible bulb seals on sliders and the compression seals on casements once a year.
2. Hardware Adjustment and Replacement
Window cranks, locks, hinges, and sliding door rollers are mechanical parts designed to be serviceable. A window that is hard to open usually does not need to be replaced; it needs a $15 crank mechanism or a $12 set of rollers. This is a one-hour job with a screwdriver for most window types. Before you replace any hardware, take a photo of the manufacturer label on the window frame. The label will have a product code that makes finding the right replacement part straightforward, and it will also tell you the brand, which matters because some brands use proprietary hardware profiles.
3. Interior Trim Painting
Painting interior window and door trim is completely safe DIY territory. The materials cost $30 to $80 per room, and the result is a visible improvement that requires no permit, no inspection, and no structural knowledge. Use a painter’s tape with a sharp edge, remove or mask the hardware carefully, and take your time with the cut-in. This is also a good moment to inspect the trim for signs of moisture staining, which can indicate a failed seal or flashing problem worth investigating before it spreads.
4. Screen Repair and Replacement
Screen frames on windows and doors in Santa Clarita take a beating from sun and wind, and the spline-and-screen repair kits cost $15 to $25 per screen. The work is simple: remove the old spline, lay the new screen fabric over the frame, press the spline back into the groove with a spline roller, and trim the excess. Most homeowners can do this in 30 minutes per screen. The one caution: keep the screen taught as you roll the spline, but not so tight that the frame bows when the screen cools and contracts at night.
5. Interior Caulking (Not Exterior)
Caulking the interior joint where trim meets drywall is safe and low-stakes. A $6 tube of painters caulk and a damp rag will get you through a full room. Exterior caulking is a different animal entirely, because exterior joints on a stucco home must be flashed and sealed with materials that can handle UV exposure, thermal movement, and water pressure. We will cover why exterior work belongs to Category Two or Three later in this guide.
For everything on this list, you do not need a permit, you do not risk your warranty, and you do not need a contractor. The savings are real: a full weatherstripping refresh on a 2,000-square-foot home runs $150 to $400 in materials, versus $600 to $1,200 if you hire it out.
Why Santa Clarita’s Stucco Exteriors Change Everything
Here is the counterintuitive insight most window replacement videos miss: the hard part of window replacement has almost nothing to do with the window. The hard part is the wall the window sits in. And in Santa Clarita, that wall is almost always stucco.
Stucco is a cementitious material that does not flex. Wood-framed homes sheathed in plywood and clad in lap siding, like the ones in most YouTube tutorials filmed in the Pacific Northwest, allow a window installer to remove the window, repair the framing, install the new unit, and reattach the exterior trim with screws and caulk. The siding flexes slightly, the trim hides the gap, and the job is done. Stucco does not work that way.
When you remove a window from a stucco wall in Santa Clarita, you are cutting into a brittle, rigid shell. The stucco has to be cut back cleanly, usually with a diamond blade or a grinding wheel, to expose the original flashing. The new window has to be integrated with the existing paper or house wrap, and then the stucco must be patched back with multiple layers: a scratch coat, a brown coat, and a finish coat, each with its own cure time. The patch is never invisible. If it is done wrong, you will see a hairline crack at the patch line within a year, and that crack becomes a moisture path. In a climate like Santa Clarita’s, where the summer sun bakes the stucco to 140 degrees and the winter rains saturate the topcoat, a bad stucco patch around a window is not a cosmetic issue. It is a slow water intrusion that can rot the framing behind the patch without you ever seeing it from the inside.
The tools required for a proper stucco window replacement include a diamond-blade grinder, a mixing drill for the stucco coats, a hawk and trowel for the patch, and the experience to match the existing stucco texture, which in Santa Clarita is often a Santa Barbara smooth finish or a light sand finish that is notoriously hard to replicate. The skill involved is masonry, not carpentry. And the stakes are structural: the stucco around the window is part of the home’s water-resistive barrier, and California building code treats it as such.
For comparison, a homeowner who has never worked with stucco and attempts a full window replacement will typically spend $400 to $800 on tools and materials for a single window, on top of the window cost, and will still face a high likelihood of a failed patch that requires professional repair within two years. The money that looks like savings disappears into the masonry learning curve. If your home is one of the fewer wood-sheathed homes in Santa Clarita, in pockets of older Canyon Country or some parts of Newhall, the DIY calculation changes somewhat, but the permit and warranty issues remain. Learn more about what goes into a window installation in Santa Clarita from our detailed guide.
The Warranty Reality: What “Self-Installed” Means
Most homeowners never read the warranty before they install a window. That is understandable, but it is also expensive. The warranty language on premium window products is consistent across the industry in one specific way: the full warranty, including the labor component, applies only when the window was installed by a licensed contractor.
We work with eight manufacturer brands, including CWS and ES Windows, and the warranty structure is essentially the same across all of them. The factory covers the glass, the frame, and the hardware against manufacturing defects for a stated period, often 10 to 20 years on the window unit. But that coverage is conditional on proper installation, and proper installation is defined in the warranty contract as installation by a licensed contractor in accordance with the manufacturer’s published installation instructions and the local building code.
When a homeowner self-installs, the window is classified as “self-installed” by the manufacturer. Here is what that means in practice:
- Glass seal failures are usually denied. The most common warranty claim on a window is a failed insulated glass unit, where the seal between the panes breaks and fog develops inside the glazing. Manufacturers routinely deny these claims on self-installed windows, because they cannot distinguish a manufacturing defect from installation stress.
- No labor coverage exists. Even if a manufacturer honors a product replacement, the labor to remove the old window and install the new one is your cost. With professional installation, reputable contractors back the labor with their own workmanship warranty.
- The warranty dies with the sale, sometimes. Some manufacturers require the warranty to be registered by the installing contractor at the time of installation. An unregistered warranty can be considered void when you try to make a claim three years later, after the original installer is no longer involved.
- Code-compliance failures void the product warranty. If the self-installed window does not meet Title 24 energy requirements or was installed without a permit, the manufacturer has a clear reason to deny any claim, because the product was not installed in a code-compliant condition.
The dollar value of a warranty is not trivial. A failed insulated glass unit on a large picture window in a Santa Clarita living room can cost $600 to $1,500 to replace, depending on the glass package and the window size. Over the life of a home, if two or three units fail, the warranty is worth thousands of dollars. Losing it to save a few hundred dollars on installation is a bad trade, and it is a trade most homeowners do not even know they are making until the claim is denied.
The Permit Reality in California
Here is the issue most DIY window replacement guides skate past: in California, window and door replacement requires a building permit in most cities, and Santa Clarita is no exception. The permit is not a formality. It triggers a plan review, a fee schedule, and an inspection process that verifies the installation meets the California Energy Code (Title 24) and the California Building Code’s structural and waterproofing requirements.
The permit reality cuts two ways for a homeowner considering DIY:
First, the legal route. You pull the permit as an owner-builder. In California, an owner-builder can pull permits for work on their own residence, provided they own and occupy the home and do the work themselves. The permit fees are the same as they would be for a contractor, and the inspection requirements are the same. The practical problem: the Title 24 energy inspection for replacement windows requires specific documentation that most homeowners are not set up to produce, including the fenestration certificate for each window, the U-factor and SHGC ratings, and verification that the installation matches the prescriptive compliance path. If you fail the inspection, which happens to owner-builders at a much higher rate than to licensed contractors, you pay for re-inspection and you still have to fix the problem. In our experience in Santa Clarita, an owner-builder window project that fails its first inspection can end up costing the same as hiring a contractor after the re-inspection fees, the rework, and the time are all counted.
Second, the common route. The homeowner skips the permit entirely. The window gets installed, the work looks fine, and nobody checks. The problem with this approach is that it creates an unpermitted condition that surfaces later, at the worst possible time. When you sell the home, the window replacement will be flagged by a sharp home inspector or during the appraisal. When you file a homeowners insurance claim after a wildfire or a water event, the adjuster will review the property records and can contest claims in areas with unpermitted work. When the city receives a complaint from a neighbor, which does happen, you will be ordered to obtain an after-the-fact permit, which requires exposing the work for inspection and typically costs more than the original permit would have.
The permit is not an optional insurance policy. It is the legal record that the work was done correctly, and in a fire-prone region like Santa Clarita, where the home’s exterior envelope is part of the wildfire defense system, the permitting record matters for insurance purposes long after the installation is finished. If you are weighing the cost of a permit against the cost of no permit, consider what the home sale in ten years looks like with an unpermitted window replacement on the disclosure form.
An Honest Cost Comparison: Where DIY Saves, Where It Doesn’t
The DIY-versus-professional decision is really a series of smaller decisions, each with its own numbers. Here is the honest cost math, based on what we see across Santa Clarita, for a typical single window replacement.
- Mid-range vinyl window unit: $350 to $600
- Stucco cutting and patching tools: $200 to $500 (if you don’t own them)
- Flashing, caulk, backer rod, insulation, fasteners: $60 to $120
- Permit fees (if you do it legally): $200 to $450
- Your time: 1 to 2 full days, plus cure time for the stucco patch
- Total: $810 to $1,670, with no warranty and a high rework risk
- Window unit, installed, with full warranty: $900 to $2,200 depending on brand, glass package, and opening condition
- Permit and inspection: typically bundled into the installation price
- Labor warranty and the contractor’s workmanship guarantee: included
- Total: $900 to $2,200 with warranty and no rework risk
The gap between DIY and professional on a full window replacement is narrower than most homeowners expect, sometimes only $200 to $500 per window once you account for tools, permits, and time. That is not a savings; that is a risk premium you are paying for the privilege of being your own warranty department. The genuine DIY savings live entirely in the Category One tasks: weatherstripping, screens, hardware, interior trim. Those jobs cost $8 to $40 in materials and save you $100 to $300 per opening when you do them yourself.
For door installation, the math is similar. A full exterior door installation in Santa Clarita on a stucco home involves the same masonry interface, the same flashing requirements, and the same permit questions. Interior door slab swaps and hinge adjustments are safe DIY territory. Exterior doors are not.
One more number worth noting: rework is the hidden cost of every failed DIY install. When a self-installed window leaks or fogs, the homeowner typically pays a contractor to remove the failed window, repair the damaged framing, install a new unit, and patch the stucco again. That rework costs more than the original professional installation would have, because the contractor is now also repairing the damage from the first attempt. In Santa Clarita, we regularly see rework invoices that run 40 to 60 percent higher than the original installation estimate, and the homeowner has already spent money on the first window, the tools, and the first patch. The “savings” equation inverts completely when the first attempt fails.
Step-by-Step: Mapping Your Specific Job
If you are standing in front of a window or door in your Santa Clarita home and trying to decide which category your job falls into, here is the decision sequence we walk our own neighbors through when they call us.
- Identify the problem. Is the issue cosmetic, mechanical, or structural? A window that is hard to open is usually mechanical (hardware, rollers). A window that is drafty is usually weatherstripping. A window with fog between the panes is structural (failed seal). A door that sticks in the summer is usually a hinge or a threshold adjustment. Write down the symptom before you touch anything.
- Check whether the fix touches the opening. If the repair can be done entirely from the interior or on the surface without disturbing the window flange, the stucco, or the flashing, it is Category One. Weatherstripping, hardware, screens, trim paint, interior caulk all qualify. Do it yourself.
- Determine whether the job touches the building envelope. If the fix requires removing the window, cutting back the stucco, disturbing the exterior flashing, or changing the size of the opening, it is Category Three. This is not a question of your skill; it is a question of the building’s waterproofing system. Call a licensed contractor.
- If the job is in between, honestly assess your risk tolerance. Category Two work, like replacing a rotted sill or re-caulking the exterior perimeter, is possible for a homeowner who has done masonry or exterior work before. Ask yourself: do I know how to properly flash the sill pan? Do I have a grinder and masonry experience? Do I have a full weekend and a backup plan for weather? If the answer to any of these is no, the margin between DIY and professional disappears quickly.
- Check the permit question before you commit. If the job requires a permit and you cannot legally pull one as an owner-builder, the decision is made. Hire a licensed contractor.
- Run the full cost, not the hopeful cost. Take the honest numbers from the previous section and apply them to your specific window or door. Include tools you will need to buy, permit fees, materials, and the cost of rework if the first attempt fails. Compare that number to a written estimate from a contractor. The comparison almost always settles the question.
Our position at Lightwell Windows Santa Clarita home is not that you should hire us for everything. It is that you should know the real stakes before you start, and those stakes include the warranty, the permit, the waterproofing, and the resale value of your home. We are happy to give you that comparison on your specific job, and the estimate costs nothing.
Common Mistakes to Avoid
- Using the wrong caulk on exterior joints. Standard acrylic painters caulk is not rated for UV exposure and thermal movement. On a Santa Clarita stucco wall, it will cure and crack within months. Exterior joints need a high-quality polyurethane or hybrid sealant rated for movement, and it must be tooled into the joint with proper backer rod.
- Assuming “no permit” means “no problem.” An unpermitted window replacement surfaces during home sale, insurance renewal, or after a wildfire-related inspection. The penalty is always less bearable than the original permit fee would have been.
- Not reading the warranty before the purchase. The warranty is a legal document that tells you exactly what is covered, for how long, and under what installation conditions. If the warranty specifies licensed contractor installation and you plan to self-install, you are buying a window with no coverage.
- Underestimating the stucco patch. The patch around a replaced window in a Santa Clarita stucco home is not a cosmetic detail. It is the waterproofing membrane that protects the framing from moisture. A patch that looks fine on the surface can fail underneath where you cannot see it.
- Buying the wrong glass package for the climate. Santa Clarita’s high summer temperatures and strong UV exposure mean the glazing choice matters more than in coastal climates. A window with the wrong solar heat gain coefficient will turn a west-facing room into an oven. This is a spec decision that a knowledgeable installer should inform.
- Skipping the flashing details. The window flange, the sill pan, and the head flashing are the parts of the installation that keep water out. Every shortcut here becomes a leak, and the leak shows up on the interior wall or the floor years after the job is done. On a stucco home, the flashing details are integrated into the wall system and are not accessible once the patch is applied.
- Doing the work without checking the HOA requirements. Many Santa Clarita neighborhoods have HOAs with specific architectural review requirements for window and door replacement. Some require specific colors, styles, or materials. Doing the work first and seeking approval later can mean replacing the window twice.
When to Call a Professional
The threshold for calling a professional is simpler than most homeowners expect. If the job touches the stucco, the flashing, the structural frame, or the permit record, call a licensed contractor. That means full window replacement, new-construction windows, exterior door replacement, replacement of a rotted sill, or any job where the opening itself is being disturbed.
If you are in Santa Clarita and you want a second opinion on whether your specific job is DIY-appropriate, Lightwell Windows Santa Clarita offers free estimates at (661) 430-5327. We will walk the project with you, give you a written price before any work starts, and tell you honestly if a job is something you can handle yourself. A light well is what brings daylight deep into a building, and that is what a well-installed window should do for your home. We will help you get there, whether we do the installation or not.
Frequently Asked Questions
Professional window replacement in Santa Clarita typically runs $900 to $2,200 per opening for a standard vinyl or fiberglass window installed in a stucco home, with the price depending on the brand, the glass package, the opening condition, and the permit requirements. The number includes the window unit, the installation labor, the stucco patch, the flashing details, and the permit. Call (661) 430-5327 for a written line-item estimate on your specific windows, free of charge. If you are looking at multiple openings, many homeowners see per-window pricing drop as the project scales.
California law allows an owner-builder to perform work on their own residence, including window replacement, provided they own and occupy the home and the work is done to code. The practical reality is that the permit, the Title 24 energy inspection, and the stucco interface requirements make most owner-builder window projects harder and more expensive than most homeowners expect. If the permit is skipped, the work is unpermitted and creates a disclosure liability that surfaces at sale, insurance renewal, or after a fire-related inspection.
With Lightwell Windows Santa Clarita, no. Our standing rule is a written price before any work starts, with no-hassle upfront pricing and no invoice surprise at the end. If we find hidden damage after the window is removed, we stop, explain the finding, show you the condition, and put the revised price in writing before proceeding. That is what the C.A.R.E. values mean on a real job: we explain the price before the work, every time. Call (661) 430-5327 and ask for a written estimate.
In most cases, yes. The manufacturer warranties on premium window brands, including the CWS and ES Windows lines we carry, specify licensed contractor installation as a condition of the full warranty. A self-installed window is typically classified by the manufacturer as non-warrantied, and claims for seal failure, frame defects, or hardware failure are likely to be denied. The labor cost of replacing a failed window is also not covered when the unit was self-installed.
Santa Clarita’s hot summers, strong UV, and wildfire-adjacent conditions favor brands with low solar heat gain glazing options and impact-resistant frame profiles. Among the eight brands we carry, ES Windows and CWS are two we frequently recommend for west-facing and south-facing openings because of their thermal performance and glass package range. The right choice depends on the specific window’s exposure and the homeowner’s priorities, which is why the recommendation starts with the opening, not with a preferred vendor. Visit our window installation guide for Santa Clarita for more on choosing the right glazing.
A standard window replacement on a Santa Clarita stucco home typically takes one day per opening for the removal and installation, with an additional day for the stucco patch to be applied and textured, plus 24 to 72 hours of cure time before the finish work is complete. A full-home window replacement of 10 to 15 openings usually runs three to five working days total. We protect your floors with drop cloths, your rooms with shoe covers on every visit, and we send you a photo of the clean-up before we leave, so your home looks like a home while the job is in progress. For an exact timeline on your project, call (661) 430-5327.
The Bottom Line
The DIY-versus-professional question for windows and doors in Santa Clarita is not about whether you are handy. It is about where the warranty, the permit, and the waterproofing live, and whether your savings survive contact with those realities. The jobs you can own, you should own: weatherstripping, screens, hardware, interior trim. The jobs that touch the stucco opening, the flashing, and the Title 24 inspection are not DIY projects in any practical sense, because the hidden costs of the first failed attempt exceed the visible savings of the first. Before you cut into a stucco wall, get a written estimate and compare the real numbers, and browse our more guides & resources to plan your project with full information. Call (661) 430-5327 for a free estimate and an honest read on your specific project.
Written by Keith Yamada, Owner at Lightwell Windows Santa Clarita, serving Santa Clarita since 2010.
See the difference
 Before
 After
After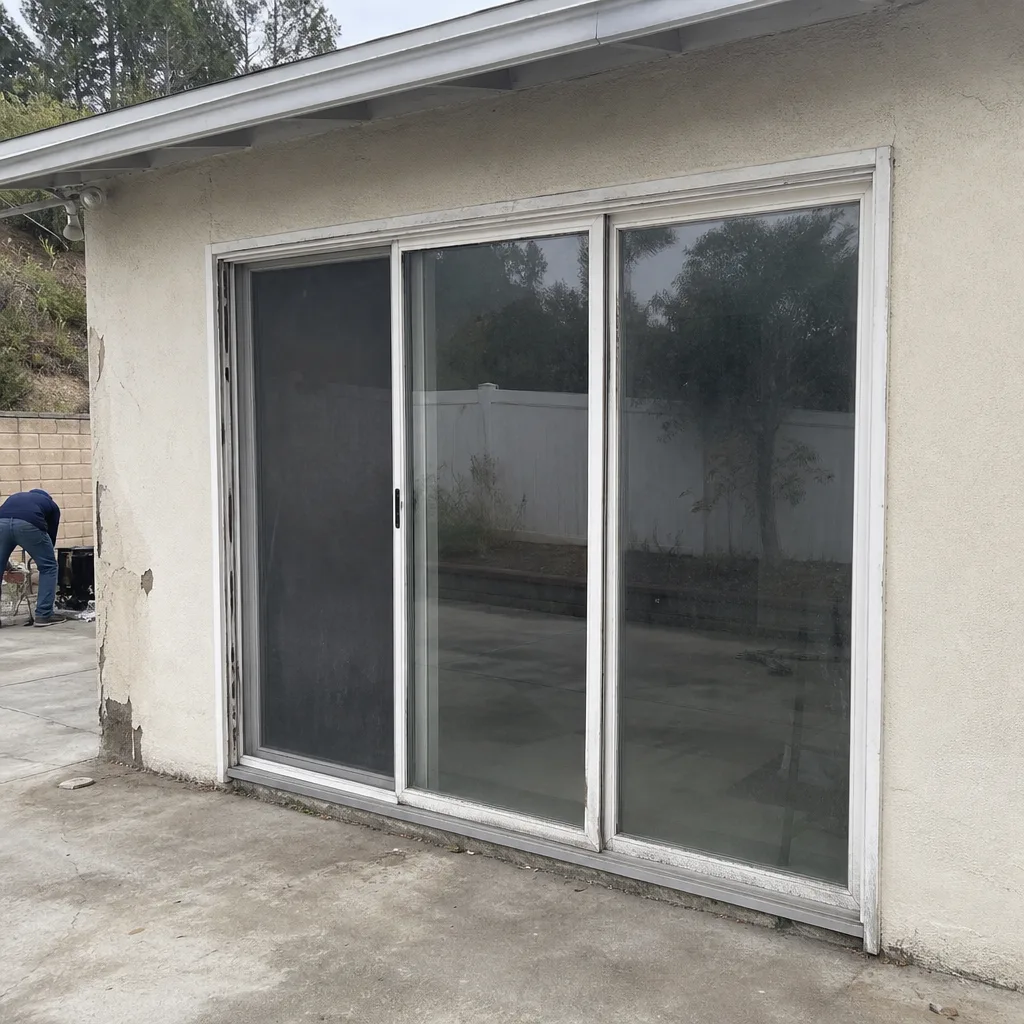 Before
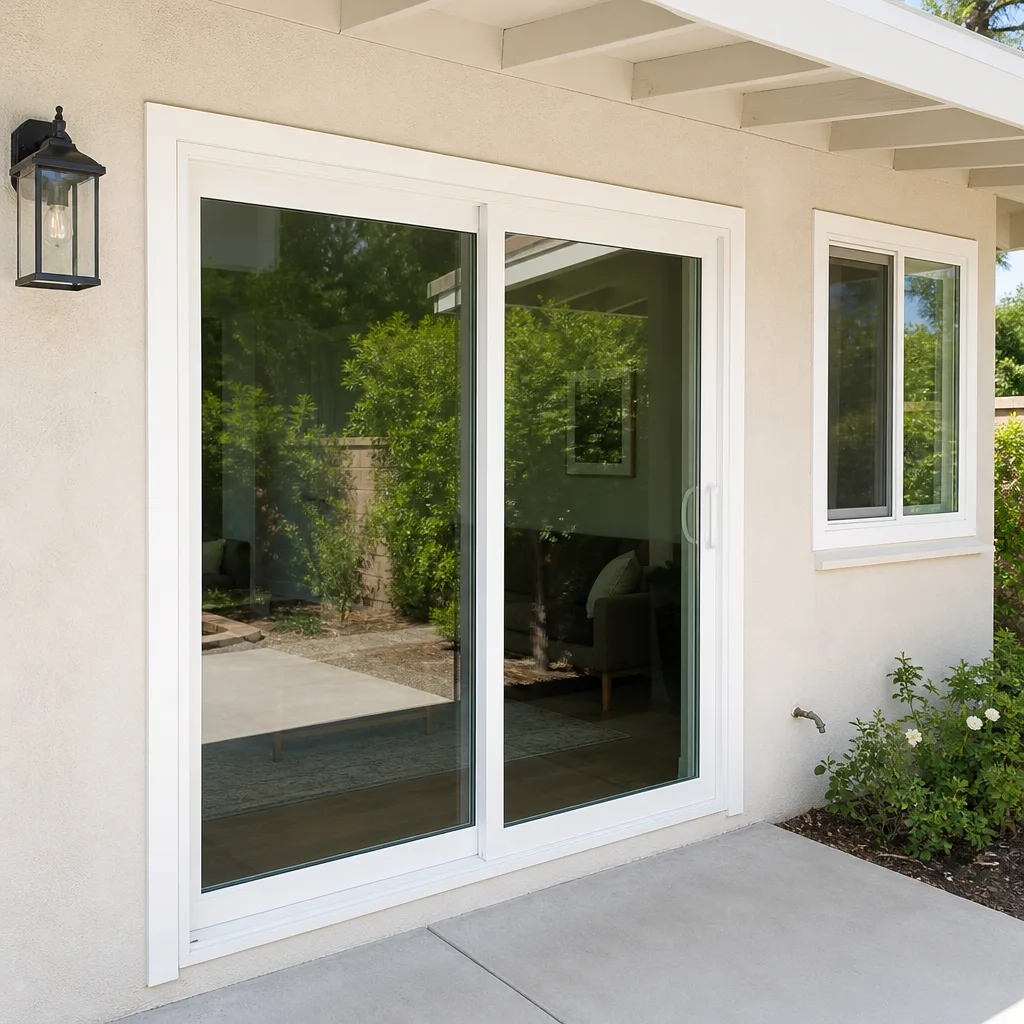 After
After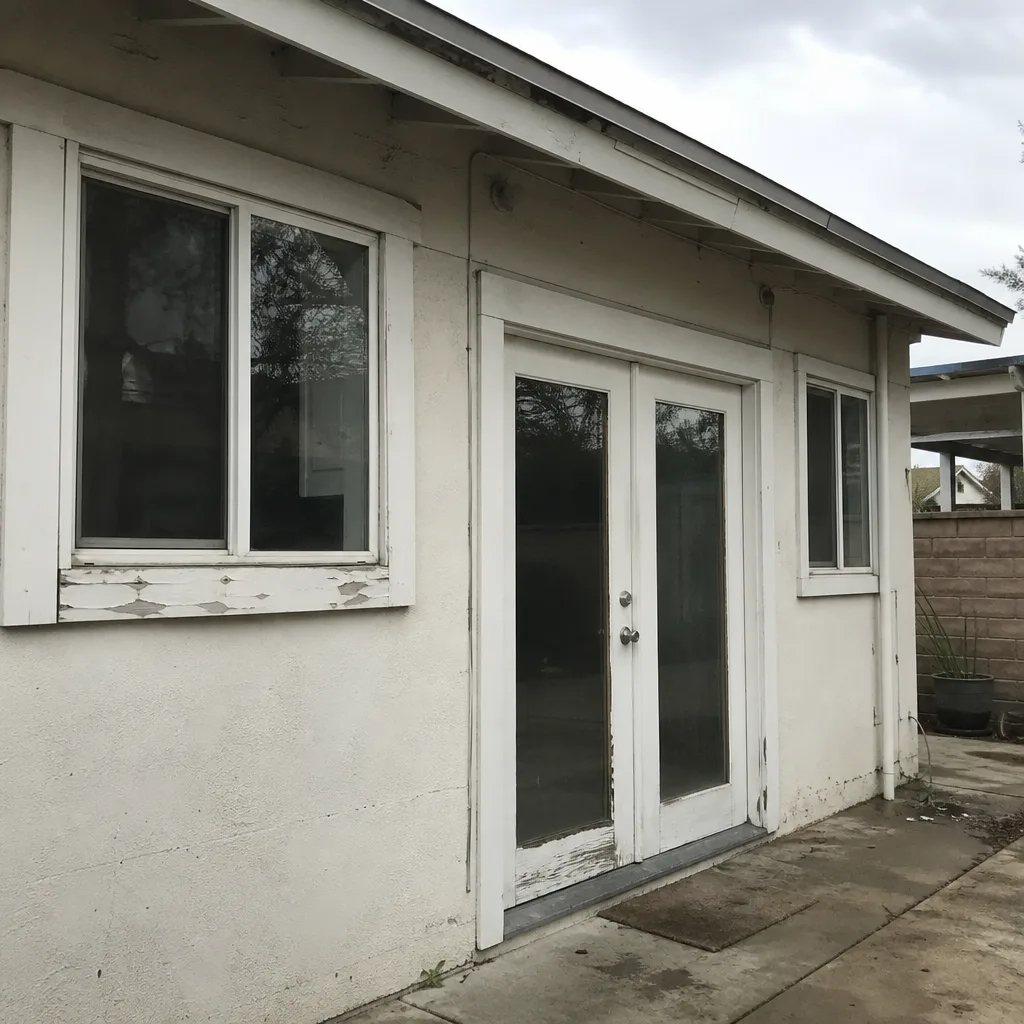 Before
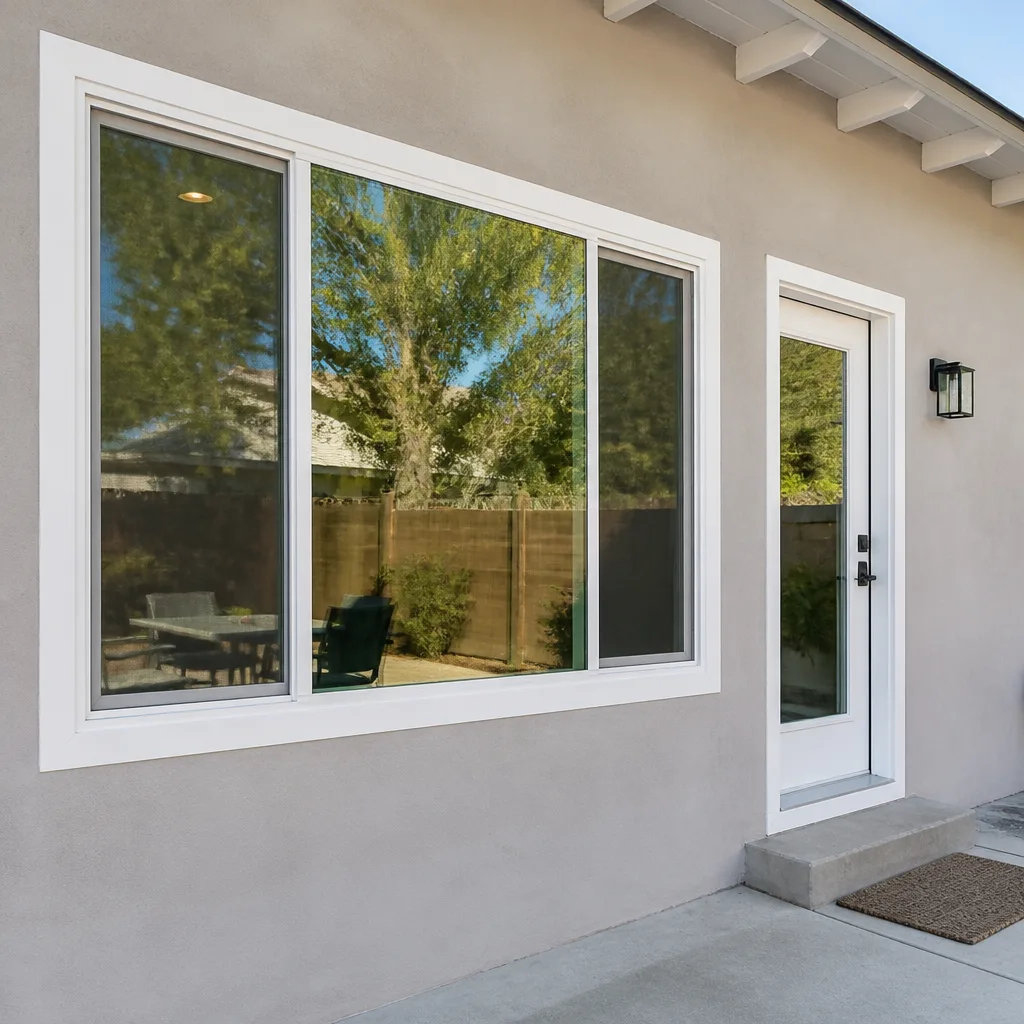 After
AfterSix Reasons Homeowners Choose Lightwell Windows Santa Clarita
Laminated glass and reinforced frames hold up to wind-driven rain, hail and flying debris, so your openings stay sealed when the weather turns.
Low-E insulated impact glass from our manufacturer lines commonly cuts monthly cooling bills 20-30%.
Laminated impact glass shuts out up to 40% of outside noise - traffic, neighbors, weather.
Monitoring services run $30-90 a month. Laminated impact glass resists forced entry around the clock, with no subscription.
Tighter seals and insulated glass even out hot and cold rooms and stop the drafts at the frame.
A full impact package upgrades curb appeal, buyer confidence and appraised value in one project.